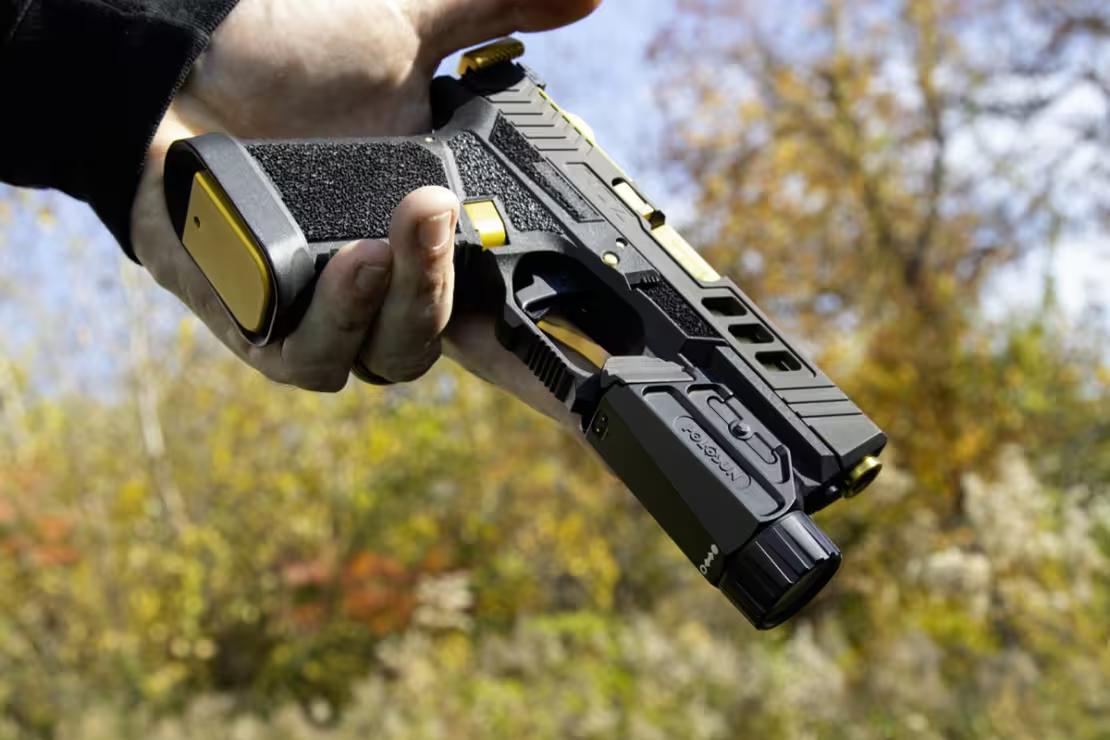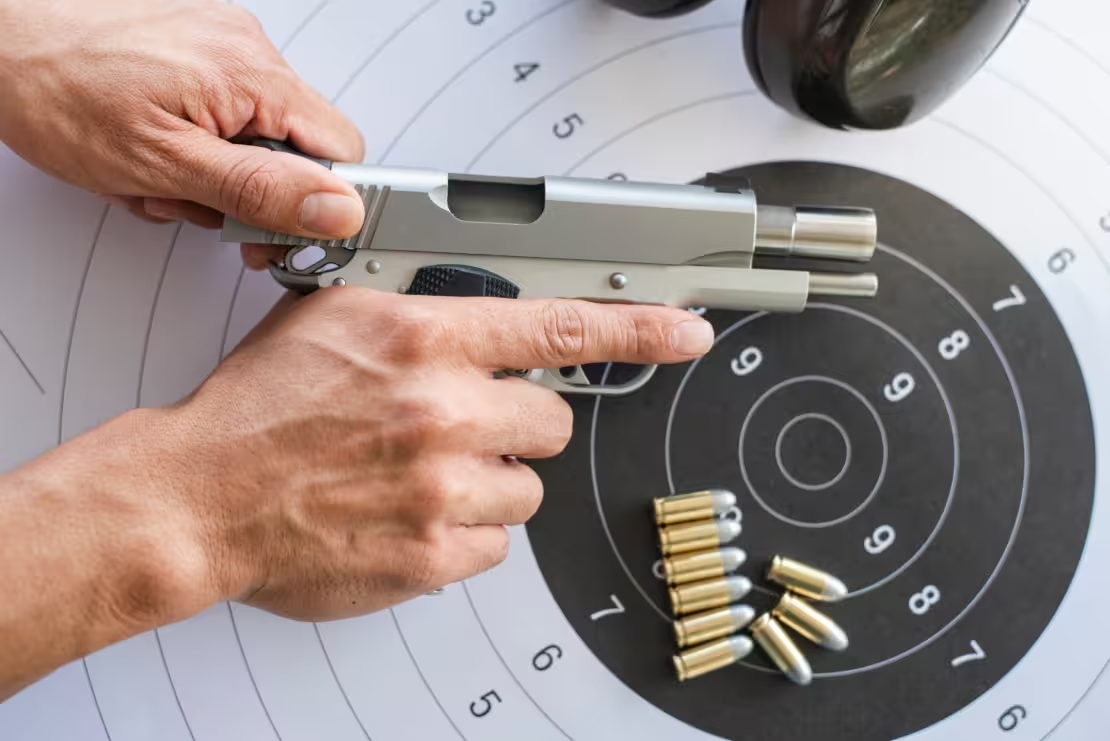

Just added some new handgun performance upgrades? Congratulations! The new trigger, slide, or sights are exactly what you’ve been waiting for. The anticipation of feeling the difference in your hands is palpable. For many firearm enthusiasts, the thrill of modifying a handgun is unparalleled. It’s akin to unlocking the potential of a machine uniquely tailored to your shooting style. However, a crucial question remains: are you truly maximizing the benefits of your upgrades?
It’s tempting to head straight to the range, driven by the excitement of testing your newly enhanced firearm. Gun enthusiasts often can’t resist the urge to experience firsthand how their handgun performs with the new components. However, the key to truly maximizing the effectiveness of your upgrades lies in a few critical follow-up steps. Skipping these steps could lead to disappointing results, such as missed shots during competition or, worse, a malfunction when you need your firearm most.
Imagine stepping up to the firing line, eager to test your upgraded trigger, only to find your shots consistently off-target. The issue might not be the trigger itself, but rather misaligned sights resulting from the upgrade process. Every modification requires careful recalibration to unlock its full potential.
To ensure your handgun performance upgrades function safely, accurately, and reliably, here are five handgun upgrade safety steps you need to take:
Step 1: Test at the Range – The Importance of Immediate Handgun Performance Upgrades Evaluation
Controlled Environment Testing
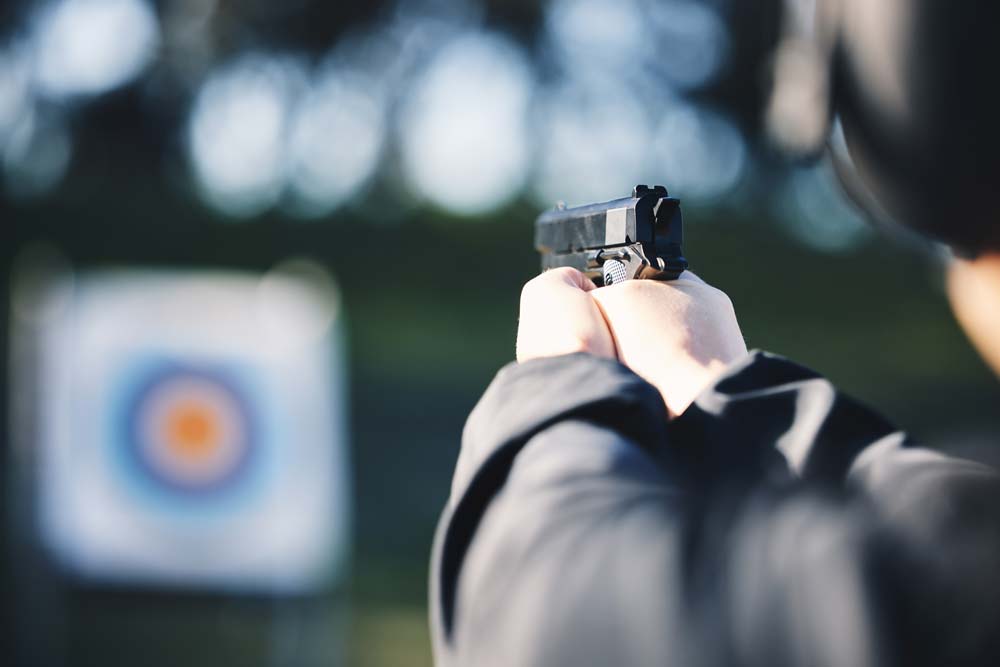
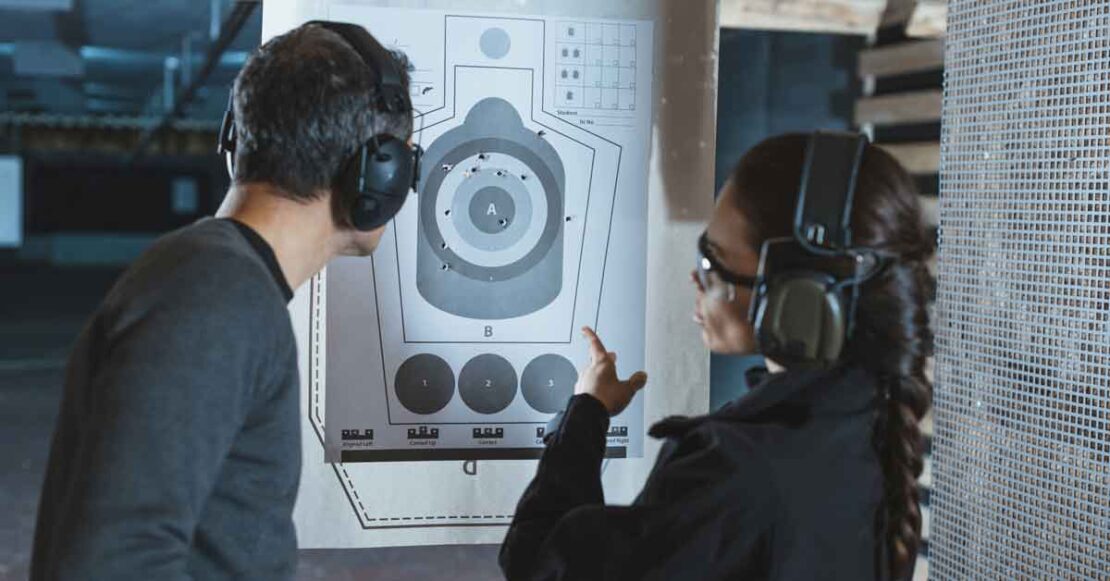
Your first step should always be testing your handgun performance upgrades at the range. Firearm upgrades—whether it’s a new trigger, slide, or sights—can significantly alter how your gun handles. The only way to truly understand these changes is to test the firearm in a controlled, familiar environment.
A controlled range setting provides the necessary safety and focus to assess all the subtle changes introduced by your upgrades. It allows you to identify variations in recoil, balance, or accuracy that might not be apparent until you fire those initial rounds. You don’t want any surprises, especially during high-stakes moments. Range testing ensures you’re fully aware of how the modifications have changed your handgun’s behavior, allowing you to make any necessary adjustments early.
Avoiding Unpleasant Surprises
Consider a scenario where you’ve upgraded to a new slide that promises improved recoil management. If you skip the crucial first test at the range, you might find yourself caught off guard in a high-pressure situation—like a competition—because the firearm handles differently than expected. A slightly modified recoil pattern or changed sight alignment could cause missed shots, undermining the very benefits the upgrade was supposed to bring.
By taking your modified handgun with performance upgrades to the range immediately after the upgrade, you eliminate these potential surprises and ensure everything functions smoothly when it matters most. This initial testing phase is also an excellent opportunity to start documenting the changes you observe, creating a baseline for future reference.
Step 2: How to adjust handgun sights after upgrades – The Key to Maintaining Accuracy after Handgun Performance Upgrades
Understanding Sight Alignment Changes
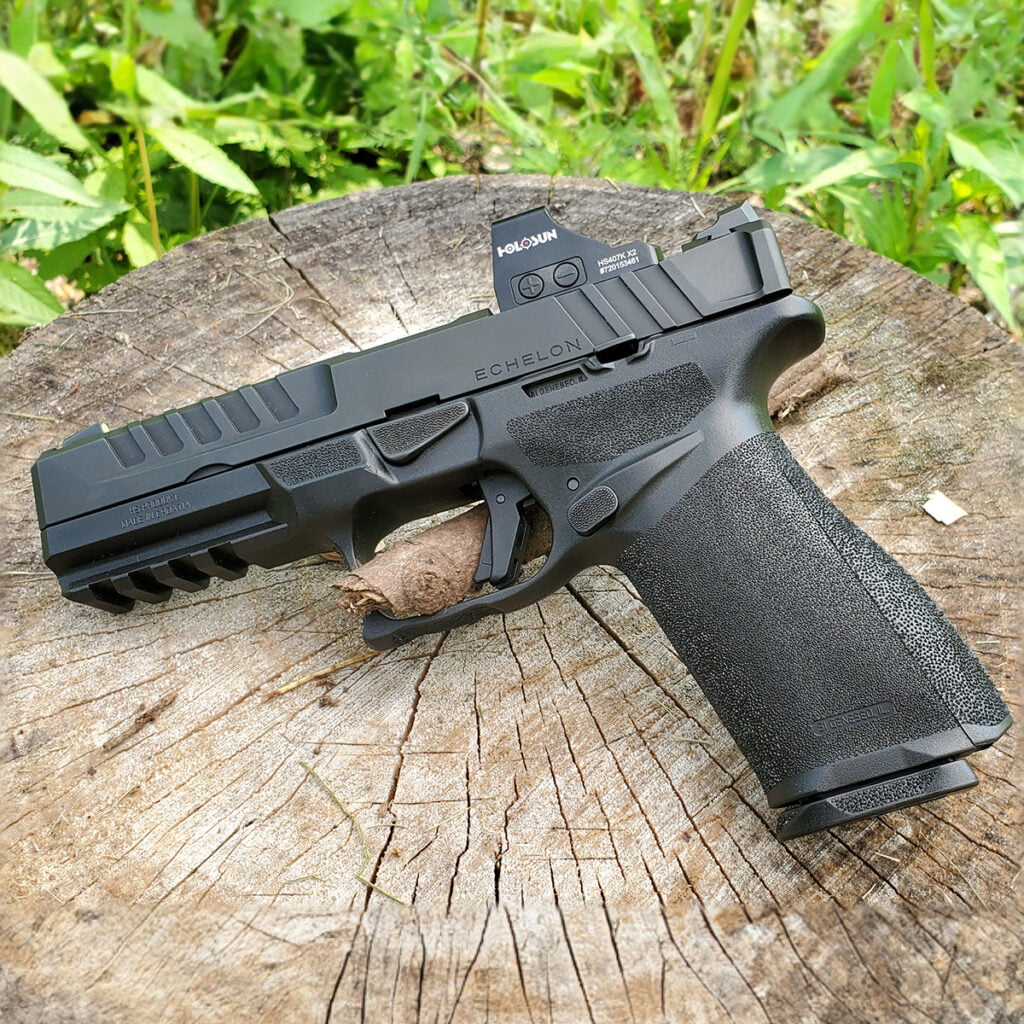
Handgun performance upgrades, particularly those involving a new slide or barrel, can significantly impact the alignment of your sights. It’s crucial to make necessary adjustments to your sight picture following these modifications. Even slight changes to the hardware—such as altering the slide or adding a new optic—can lead to shifts in how the sights line up. These adjustments might seem minimal, but they can have a substantial impact on your accuracy, especially at varying distances.
The Impact on Shot Precision
Failing to make these adjustments can cause your shot groups to drift. For instance, a shooter who installs a new slide might find their shots consistently grouping to the left or right during their first range session post-upgrade. This doesn’t necessarily mean the new slide is flawed—it’s often just a matter of small differences in height or weight distribution requiring slight adjustments to bring everything back into proper alignment.
A fellow shooter once shared his frustration after upgrading his slide and sights. He spent an entire range day questioning his technique, as his groupings were consistently off-center. The issue wasn’t his form or trigger control—it was simply that his sight picture needed readjustment after the upgrade. To maximize accuracy, it’s essential to recalibrate your sights and take the time to test at different distances and under various conditions to ensure precise alignment.
When adjusting your sights, remember to make small, incremental changes. It’s often helpful to use a bore sight or laser boresighter to get a rough alignment before fine-tuning at the range. Keep detailed notes of each adjustment and the resulting impact on your shot groups. This documentation will prove invaluable for future upgrades or troubleshooting.
Step 3: Familiarize Yourself with the New Trigger – Muscle Memory Matters
Understanding Trigger Dynamics
Upgrading your handgun’s trigger can provide numerous benefits, such as a crisper break, a shorter reset, or a lighter pull—all of which can enhance accuracy and shooting speed. However, these changes also fundamentally alter how your muscle memory interacts with the firearm. Adjusting to a new trigger takes practice because every aspect of the pull—from take-up to break—can affect your shooting consistency.
Start by dry firing with the new trigger, focusing on the feel of the new break point and reset. Pay attention to any changes in the trigger’s weight, travel, and reset distance. These factors all contribute to your overall trigger control and shooting performance.
Safety Considerations for Handgun Performance Upgrades
Familiarity is not just about performance—it’s essential for safety. Without proper muscle memory for a new trigger, you run the risk of a negligent discharge, especially if the new trigger is lighter or has a different break point than your old one. It’s analogous to adjusting to the brakes on a new car: you need to learn precisely how much pressure to apply for optimal control.
One shooter shared his experience transitioning to a lighter aftermarket trigger. Initially, he found himself consistently applying too much pressure, which affected both his accuracy and shot speed. It took focused, deliberate dry fire practice to truly understand the new dynamics of the trigger and to make his muscle memory reliable again. Practicing until the trigger pull becomes instinctive is critical to achieving both peak performance and safe handling.
Incorporate both dry fire and live fire exercises in your practice routine. Start with slow, deliberate shots to really feel the new trigger characteristics before progressing to more rapid fire drills. Remember, the goal is to build new muscle memory that allows you to operate the upgraded trigger effectively under various conditions.
Step 4: Clean and Inspect for Wear – Maintaining Reliability
Initial Maintenance After Upgrades
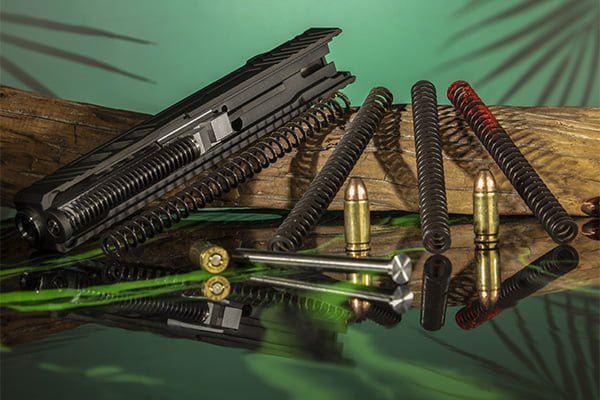
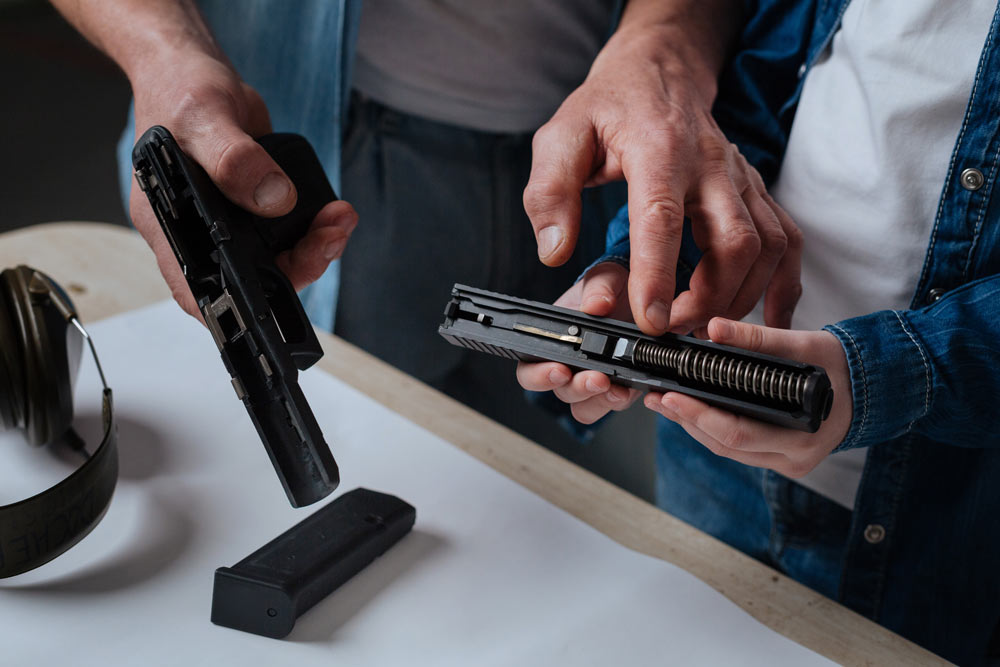
After upgrading your handgun, it’s easy to overlook the importance of cleaning and inspecting the new parts immediately. New slides, barrels, and other components can have machining residues or may settle differently as they break in. Ensuring that everything is clean and free of debris minimizes friction and prevents premature wear.
This step is particularly crucial during the initial phase after an upgrade when components are “finding their fit.” A thorough inspection allows you to verify that the new parts are seating correctly and that no abnormal wear patterns are emerging. Pay close attention to contact points between new and existing parts, as these areas are most likely to show signs of improper fit or excessive wear.
Preventing Early Wear and Ensuring Proper Function
Neglecting this inspection can lead to potentially disastrous results. Imagine preparing for a major range day or competition, only to discover that your upgraded barrel doesn’t quite fit right, or the new guide rod assembly is showing signs of wear after just a few rounds. A quick, thorough inspection post-upgrade could save you from these headaches and potential safety issues.
Consider the experience of a competitive shooter who installed a new, custom-fitted barrel. During his first inspection after the upgrade, he noticed unusual scratches along the barrel lug—an early indication that it wasn’t seating properly. By catching this wear early, he was able to make a slight adjustment, preventing any long-term damage to his firearm and ensuring optimal performance.
When cleaning and inspecting your upgraded handgun, pay particular attention to:
- The fit of new components, especially in areas of tight tolerances
- Any signs of unusual wear or metal-on-metal contact
- Proper lubrication of all moving parts
- The function of critical components like the extractor and ejector
Remember to perform a function check after reassembly to ensure all components are working correctly together. This includes checking the trigger reset, slide operation, and magazine insertion and release.
Step 5: Train with Your Handgun Performance Upgrades – From Familiarity to Mastery
Bridging the Gap Between Familiarity and Mastery
Handgun performance upgrades mean introducing new elements that you must fully integrate into your shooting routine. Training is essential not just to familiarize yourself with the new modifications, but to truly master them. Mastery involves being able to use those upgrades fluidly in real-world conditions, under stress, and with unwavering confidence.
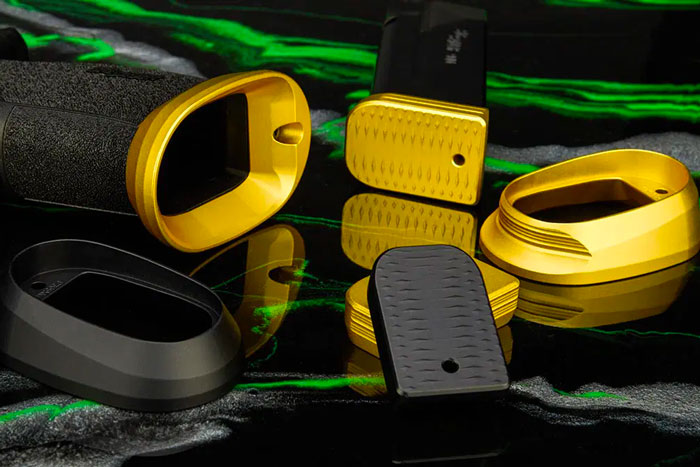
Simply using the modified gun in casual practice isn’t sufficient. Regular, purposeful training is required to ensure that new features like a modified magwell or enhanced grip become fully incorporated into your skill set. This level of integration makes a real difference in high-stress scenarios, where muscle memory needs to take over.
Improvement Through Dedicated Training
Consider a shooter who added an extended magwell to improve reloading speed. Without regular practice, he found that his reloads were inconsistent because he hadn’t fully adjusted to the slightly different angle needed for a clean magazine insertion. It was only through repetitive drills and focused practice that he was able to make his reloads as fast and smooth as they had been before the upgrade—and eventually even faster.
Effective training with your handgun should include:
- Dry fire practice to reinforce muscle memory
- Live fire drills that incorporate your new upgrades
- Scenario-based training to test your skills under pressure
- Competition or timed drills to measure improvement
Training ensures that you build a seamless connection between yourself and your modified firearm, allowing you to leverage every advantage it offers—whether it’s a crisper trigger, a quicker reload, or enhanced recoil control. The more you train, the more the upgrades will feel like natural extensions of your firearm, enhancing rather than changing your shooting style.
Conclusion
To truly benefit from your upgraded handgun, it’s crucial to follow these five essential steps: testing at the range, adjusting your sight picture, familiarizing yourself with the new trigger, cleaning and inspecting for wear, and training diligently with your modifications. These actions transform a mere upgrade into a valuable improvement in both performance and safety.
You’ve invested time, money, and passion into enhancing your handgun with performance upgrades—now it’s time to invest in the process of mastering it. Every step you take post-upgrade will directly influence how reliable, accurate, and confident you feel with your firearm. Remember, it’s not just about the parts you’ve installed; it’s about the relationship you build with your firearm afterward.
By following these steps and committing to ongoing practice and evaluation, you’ll ensure that your handgun performance upgrades truly enhance your shooting experience. Whether you’re a competitive shooter, a self-defense enthusiast, or simply someone who enjoys the art of marksmanship, these practices will help you get the most out of your firearm investments.
Master these steps, and your upgrade will be worth every penny, translating into tangible improvements in your shooting performance and overall firearm handling skills. Keep pushing your limits, stay safe, and enjoy the journey of continuous improvement in your shooting prowess.
This comprehensive guide provides essential actions to take after your handgun performance upgrades, ensuring optimal performance and safety. To further enhance your skills, check out our other articles, such as Improve Shooting Accuracy with these 5 skills, which offers additional tips and techniques to refine your marksmanship.

